> For the complete documentation index, see [llms.txt](https://docs.20lab.app/llms.txt). Markdown versions of documentation pages are available by appending `.md` to page URLs; this page is available as [Markdown](https://docs.20lab.app/verification-on-block-explorer/verifying-ownership/manual-signature-verification.md).
# Manual Signature Verification
This guide shows you how to manually verify ownership of your ERC-20 token generated on 20lab when automatic verification is not available.
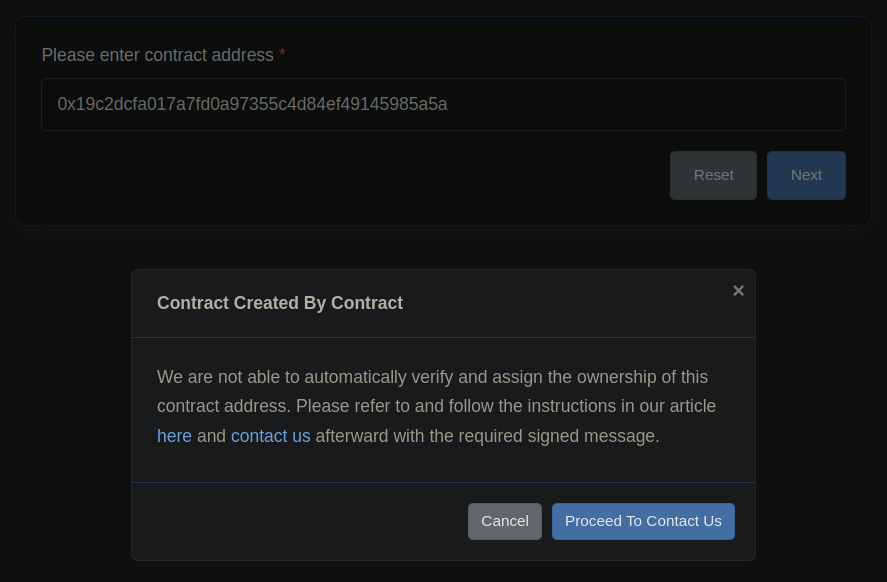
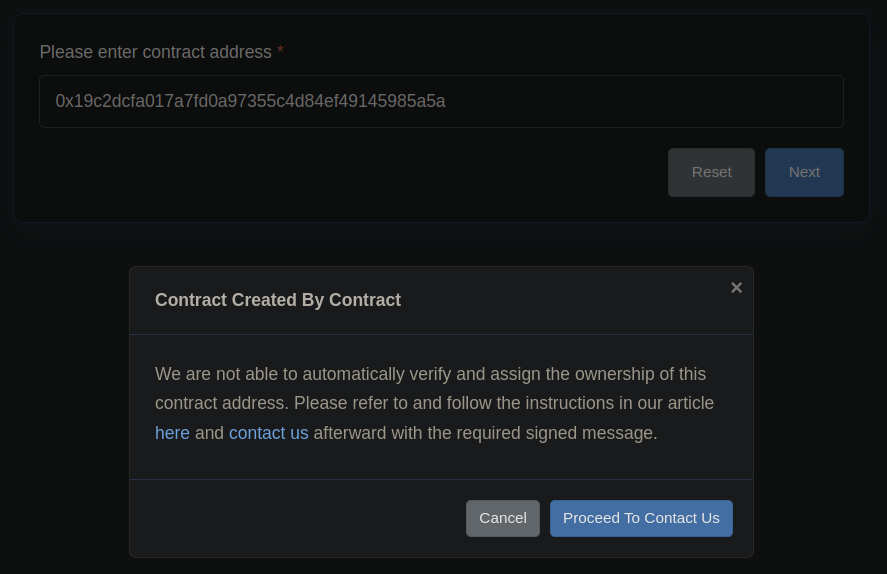
All tokens on [20lab.app](https://20lab.app/) are created through our registry contract. Some block explorers may not support automatic verification yet. If this is the case, you'll see a pop-up message telling you that you need to contact the block explorer team. You will need to manually sign a message with your token owner's address and send it as a support ticket to the block explorer.
### Signing a Message
You need to sign a message with your wallet. It may sound difficult, but it's really easy and free as well.
#### Step 1: Visit the Message Signing Tool
Go to - this is a message signing tool.
#### Step 2: Connect Your Wallet
Connect the wallet of your token owner. The blockchain you're signing from doesn't affect the signature!
#### Step 3: Create Your Message
Paste the message below into the text box and replace the information in brackets with the correct details about your token:
> I am the creator of the token contract address \[your token address] and \[your owner wallet address] and \[your BscScan/Etherscan/... username] is the owner of the contract address.
All this information is easily accessible from your 20lab dashboard (except the block explorer username, which you can get after registering an account).
#### Step 4: Sign the Message
Once you have your complete message ready, you can sign it using the tool.
#### Step 5: Verify the Signature
After signing, you should see the signature field appear automatically.
{% hint style="warning" %}
**Important:** Please check that the address shown in the "address" line of the signature is the same as the one you entered in the message as the token owner's wallet!
{% endhint %}
### Sending Your Signed Message
Once you have received the signature of your message, you can go back to the block explorer page and click "Proceed To Contact Us".
#### Fill Out the Contact Form
Now you can fill in all the necessary information:
1. Enter your name and email address
2. Paste the signature in the message box
3. Click 'Send Message'
### Wait for Review
The only thing left to do is wait for the block explorer team to review your message and verify that the actual ownership of your token matches what is stated in the signed message. You will receive an email with their response and next steps.